Introduction to MQTT Client Tools using CLI
December 24, 2022 ・0 comments ・Topic: IoT MQTT
MQTT (Message Queuing Telemetry Transport) is a machine to machine internet of things connectivity protocol. It is a Publish-Subscribe very lightweight transport protocol and it is a useful protocol where the bandwidth is a premium.
Installing Mosquitto:
To install Mosquitto in Ubuntu open terminal and type following command
> sudo apt install mosquitto
Mosquitto broker will install it on your system. You can check it in the cd /etc/mosquitto directory.
Now to install client tools type following command
> sudo apt install mosquitto-clients
Installation part is done now we will to look at some examples of using this mosquitto-client tools
for publishing and subscribing.
Now lets check that our mosquitto broker is installed properly or not for that type command
> sudo service mosquitto status
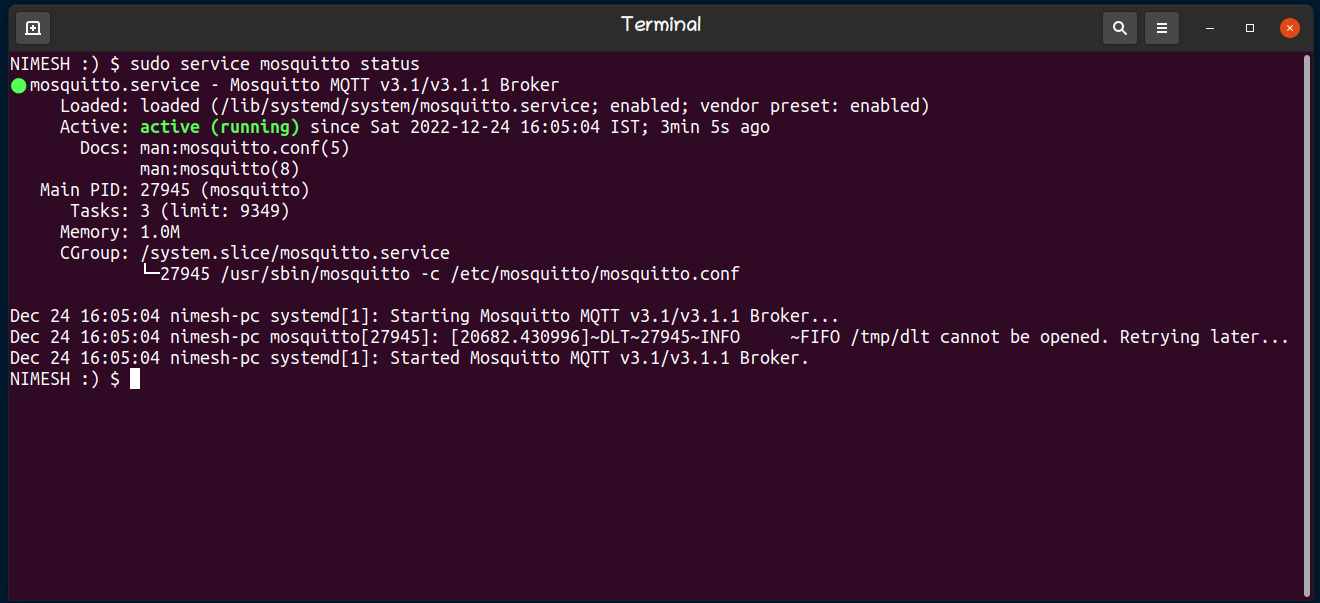
You will see mosquitto is active (running). If not then try typing ‘start’ instead of ‘status’ in the previous command.
Use of Mosquitto Client tools:
We will start with Subscriber first because MQTT Broker requires it to forward messages to the clients that are subscribed to a topic/topics.
Now type the following command to connect with the broker as a subscriber. (-d debug flag set ) and subscribe to topic ‘test/topic’
> mosquitto_sub -h localhost -t test/topic -d

Once entered, the client will always be in listening mode to exit press ctrl+c.
Useful Flag Options:
-p → set port number default is 1883-h → ip address or host name-t →Topic name-u →username-P →password-i →provide client id-r →sets retain flag-n →sends Null message useful for learning retain message-q →for Quality of service (0,1,2)-k →keep alive
For more info use > mosquitto_sub –help
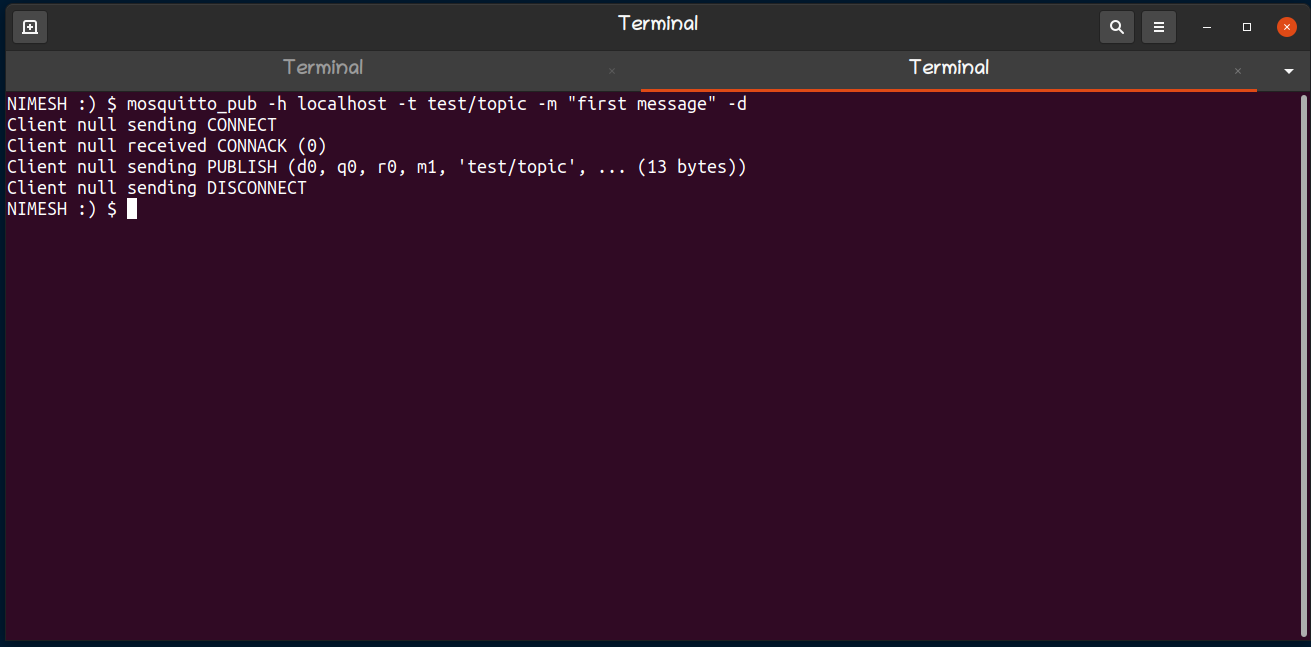
Now using mosquitto_pub we will publish message to topic ‘test/topic’ .
> mosquitto_pub -h localhost -t test/topic -m "first message" -d
After publishing message publisher client will disconnect automatically.
Subscribers will receive message on topic ‘test/topic’.

Publishing using username and password
> mosquitto_pub -h localhost -t test/topic -u nimesh -P passwd -m "first message" -d

Remember that -P (capital P) is for password and -p is for port number.
Publish with Retain Flag and QoS Flag:
use of -r and -q flag

In PUBLISH packet you will notice that q1, r1 flag will be set.
Retain flag will help to inform the broker to keep the last message on that topic. This feature allows you to store a single message per MQTT topic on broker and send it to all current and future subscribers.
To save a retained message, simply set a retained flag when publishing it to the broker.
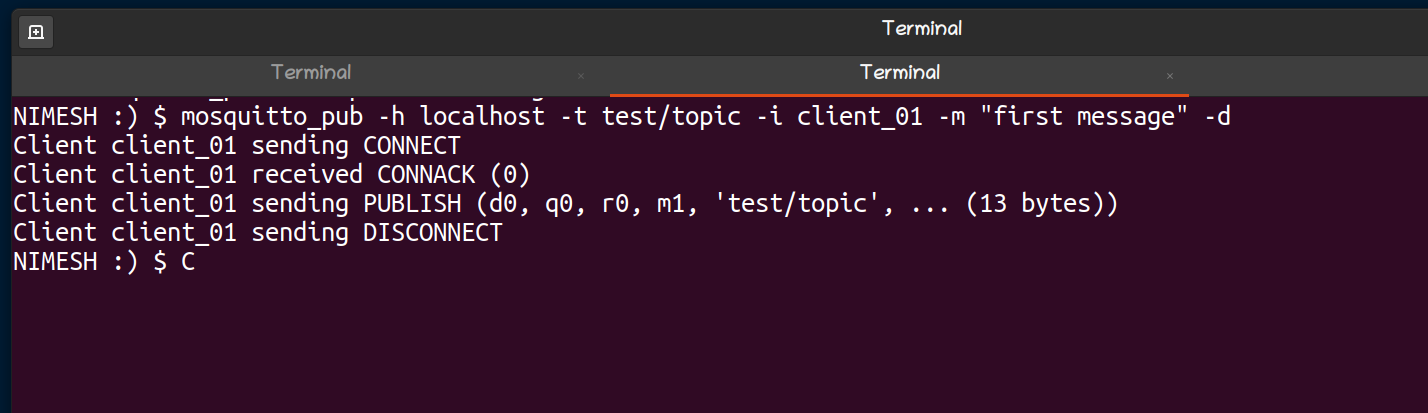
Publish with Client Name:
This option is useful when testing client restrictions using prefixes or client names with ACLs. Uses -i option. You could also use the -I option if you just needed prefixes.
> mosquitto_pub -h localhost -t test/topic -i client_01 -m "first message" -d
Publishing JSON Data:
Json data always has a key-value pair. When we want to publish data using mosquitto_pub always keep in mind one think that dont use quotes.
Eg. don’t use {“LED_Status”:”ON”} but instead use: {\”LED_Status\”:\”ON\”}.


If you are publishing multiple datas then you need to put the entire string in quotes:
Eg. "{\"temp1\":22,\"temp2\":45}"
Subscribe using -C flag:
A useful option is the -C flag which will disconnect after receiving a certain number of messages.
> mosquitto_sub -h localhost -t test/topic -C 3

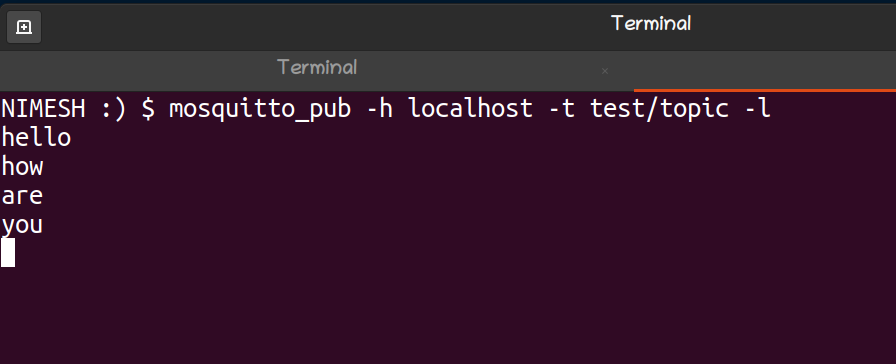
While publishing with -l flag publisher will not disconnect and we can enter message on terminal.
Subscribe using -v flag :
-v means verbose. It will show the topic name as well as the message.

There are more options available that you can try. In the end let's conclude that mosquitto_sub and mosquitto_pub client utility is an excellent tool for troubleshooting and testing purposes for MQTT and Broker.
Post a Comment
If you can't commemt, try using Chrome instead.